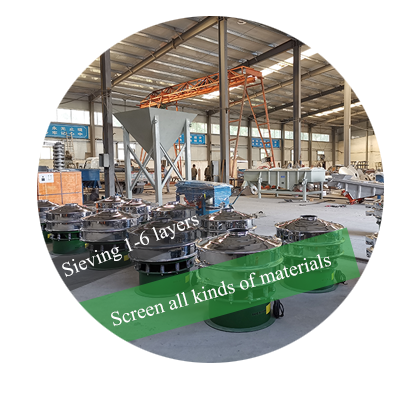
Select the ideal vibrating screen mesh size using our step-by-step guide, aperture correction chart, and quick decision matrix. Includes field-tested tips and VSMA standards.
Last Updated: August 2026
How to Choose Vibrating Screen Mesh Size: 5-Step Guide with Selection Tool?
About the author: Over 18 years of experience in screening equipment design and process optimization, specializing in mesh selection for mineral processing, aggregate, and chemical applications.
Introduction
Selecting the correct vibrating screen mesh size directly determines screening efficiency, product quality, and equipment service life. Based on our experience across mineral processing, aggregate, and chemical applications, mesh selection is rarely a one-time decision—it requires balancing multiple factors that interact in complex ways.
This guide provides a practical 5-step selection process, a quick-reference mesh size chart, aperture estimation method, and field-tested recommendations.
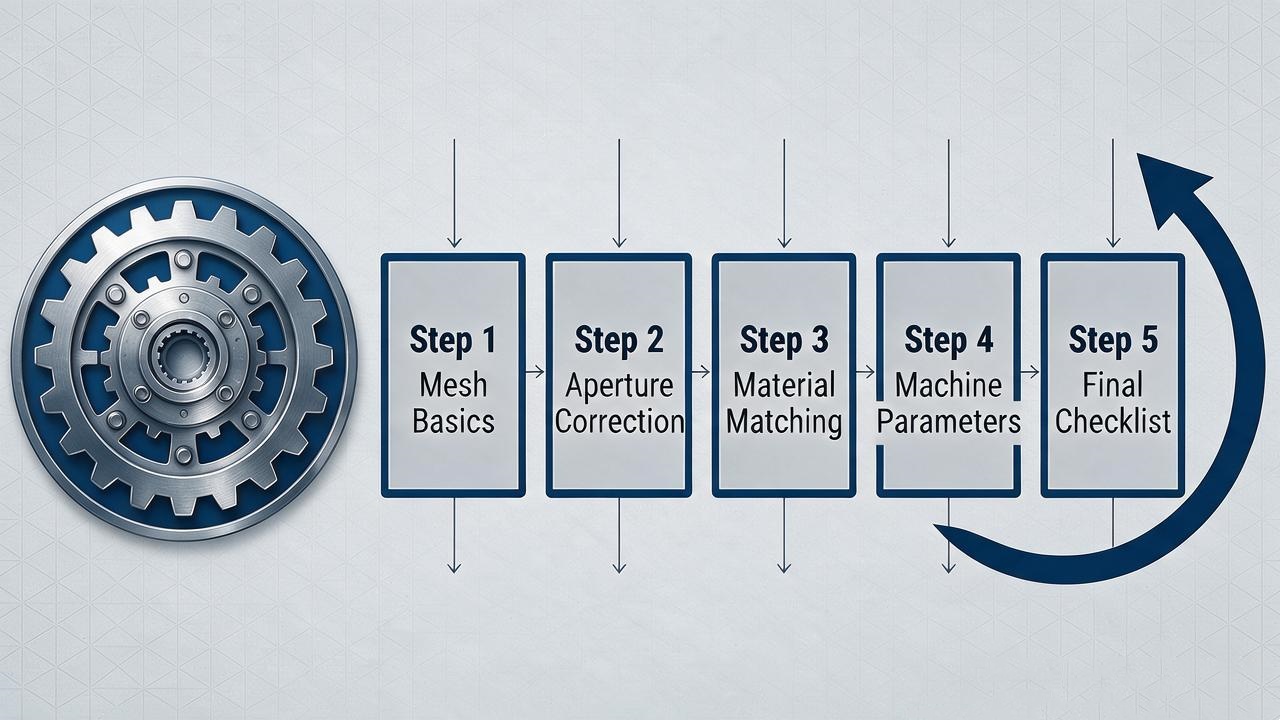
Step 1: Understand Mesh Size Basics
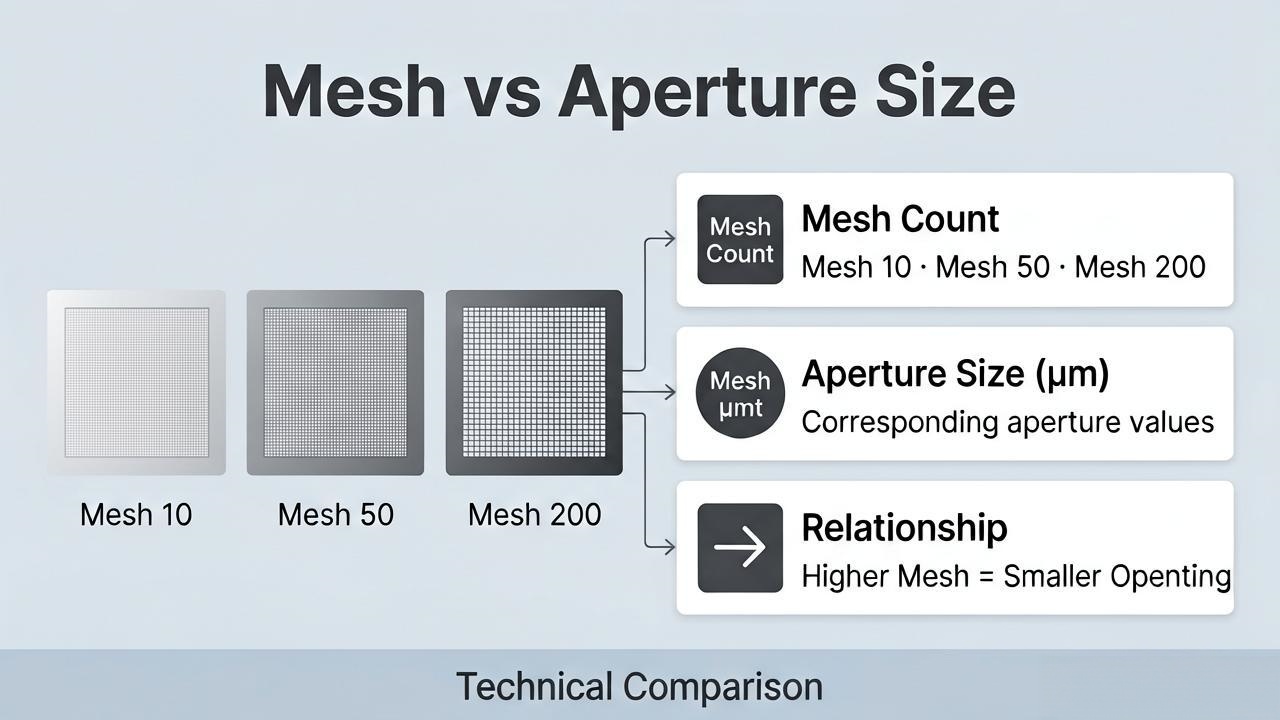
Mesh size = number of openings per linear inch (25.4 mm). Higher mesh number = smaller openings = finer screening.
Per ASTM E11-22 (Section 5.2):
Mesh Count × Aperture (μm) ≈ 15,000
Example: 100 mesh ≈ 150 μm (0.15 mm).
| Mesh | Aperture (mm) | Typical Application |
|---|---|---|
| 5 | 4.00 | Coarse aggregate |
| 10 | 2.00 | Sand/gravel classification |
| 20 | 0.85 | Construction sand |
| 50 | 0.30 | Fine powder grading |
| 100 | 0.15 | Mineral processing |
| 200 | 0.075 | Ultra-fine classification |
Step 2: Apply the Aperture Correction Rule
The mesh aperture should never equal your target particle size. For inclined screens, effective opening is reduced.
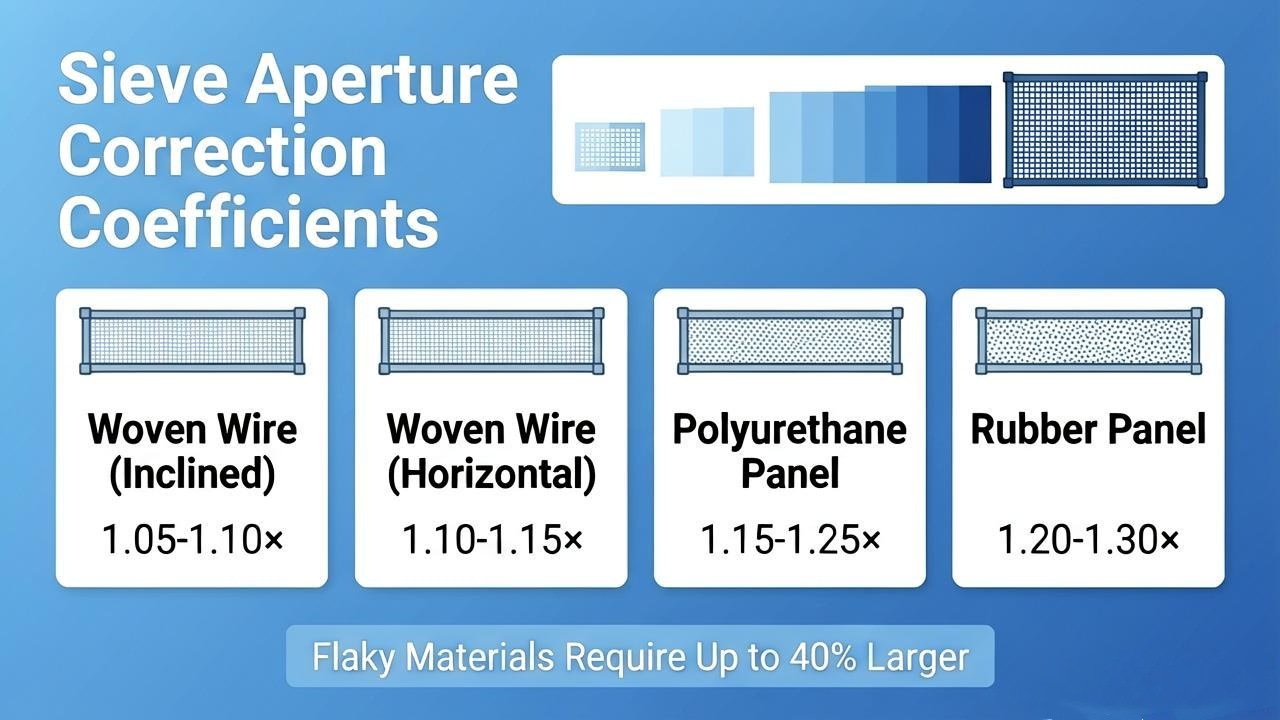
Recommended aperture = target size × correction factor (based on VSMA screening handbook, 2024):
| Screen Media Type | Correction Factor |
|---|---|
| Woven wire (inclined) | 1.05 – 1.10× |
| Woven wire (horizontal) | 1.10 – 1.15× |
| Polyurethane panel | 1.15 – 1.25× |
| Rubber panel | 1.20 – 1.30× |
Key insight: Materials with aspect ratio >3:1 (flaky/elongated) require apertures up to 40% larger than spherical particles of the same size.
Step 3: Match Mesh to Your Material
| Material Condition | Recommended Approach |
|---|---|
| Abrasive (granite, ores) | High-tensile steel or wear-resistant alloys |
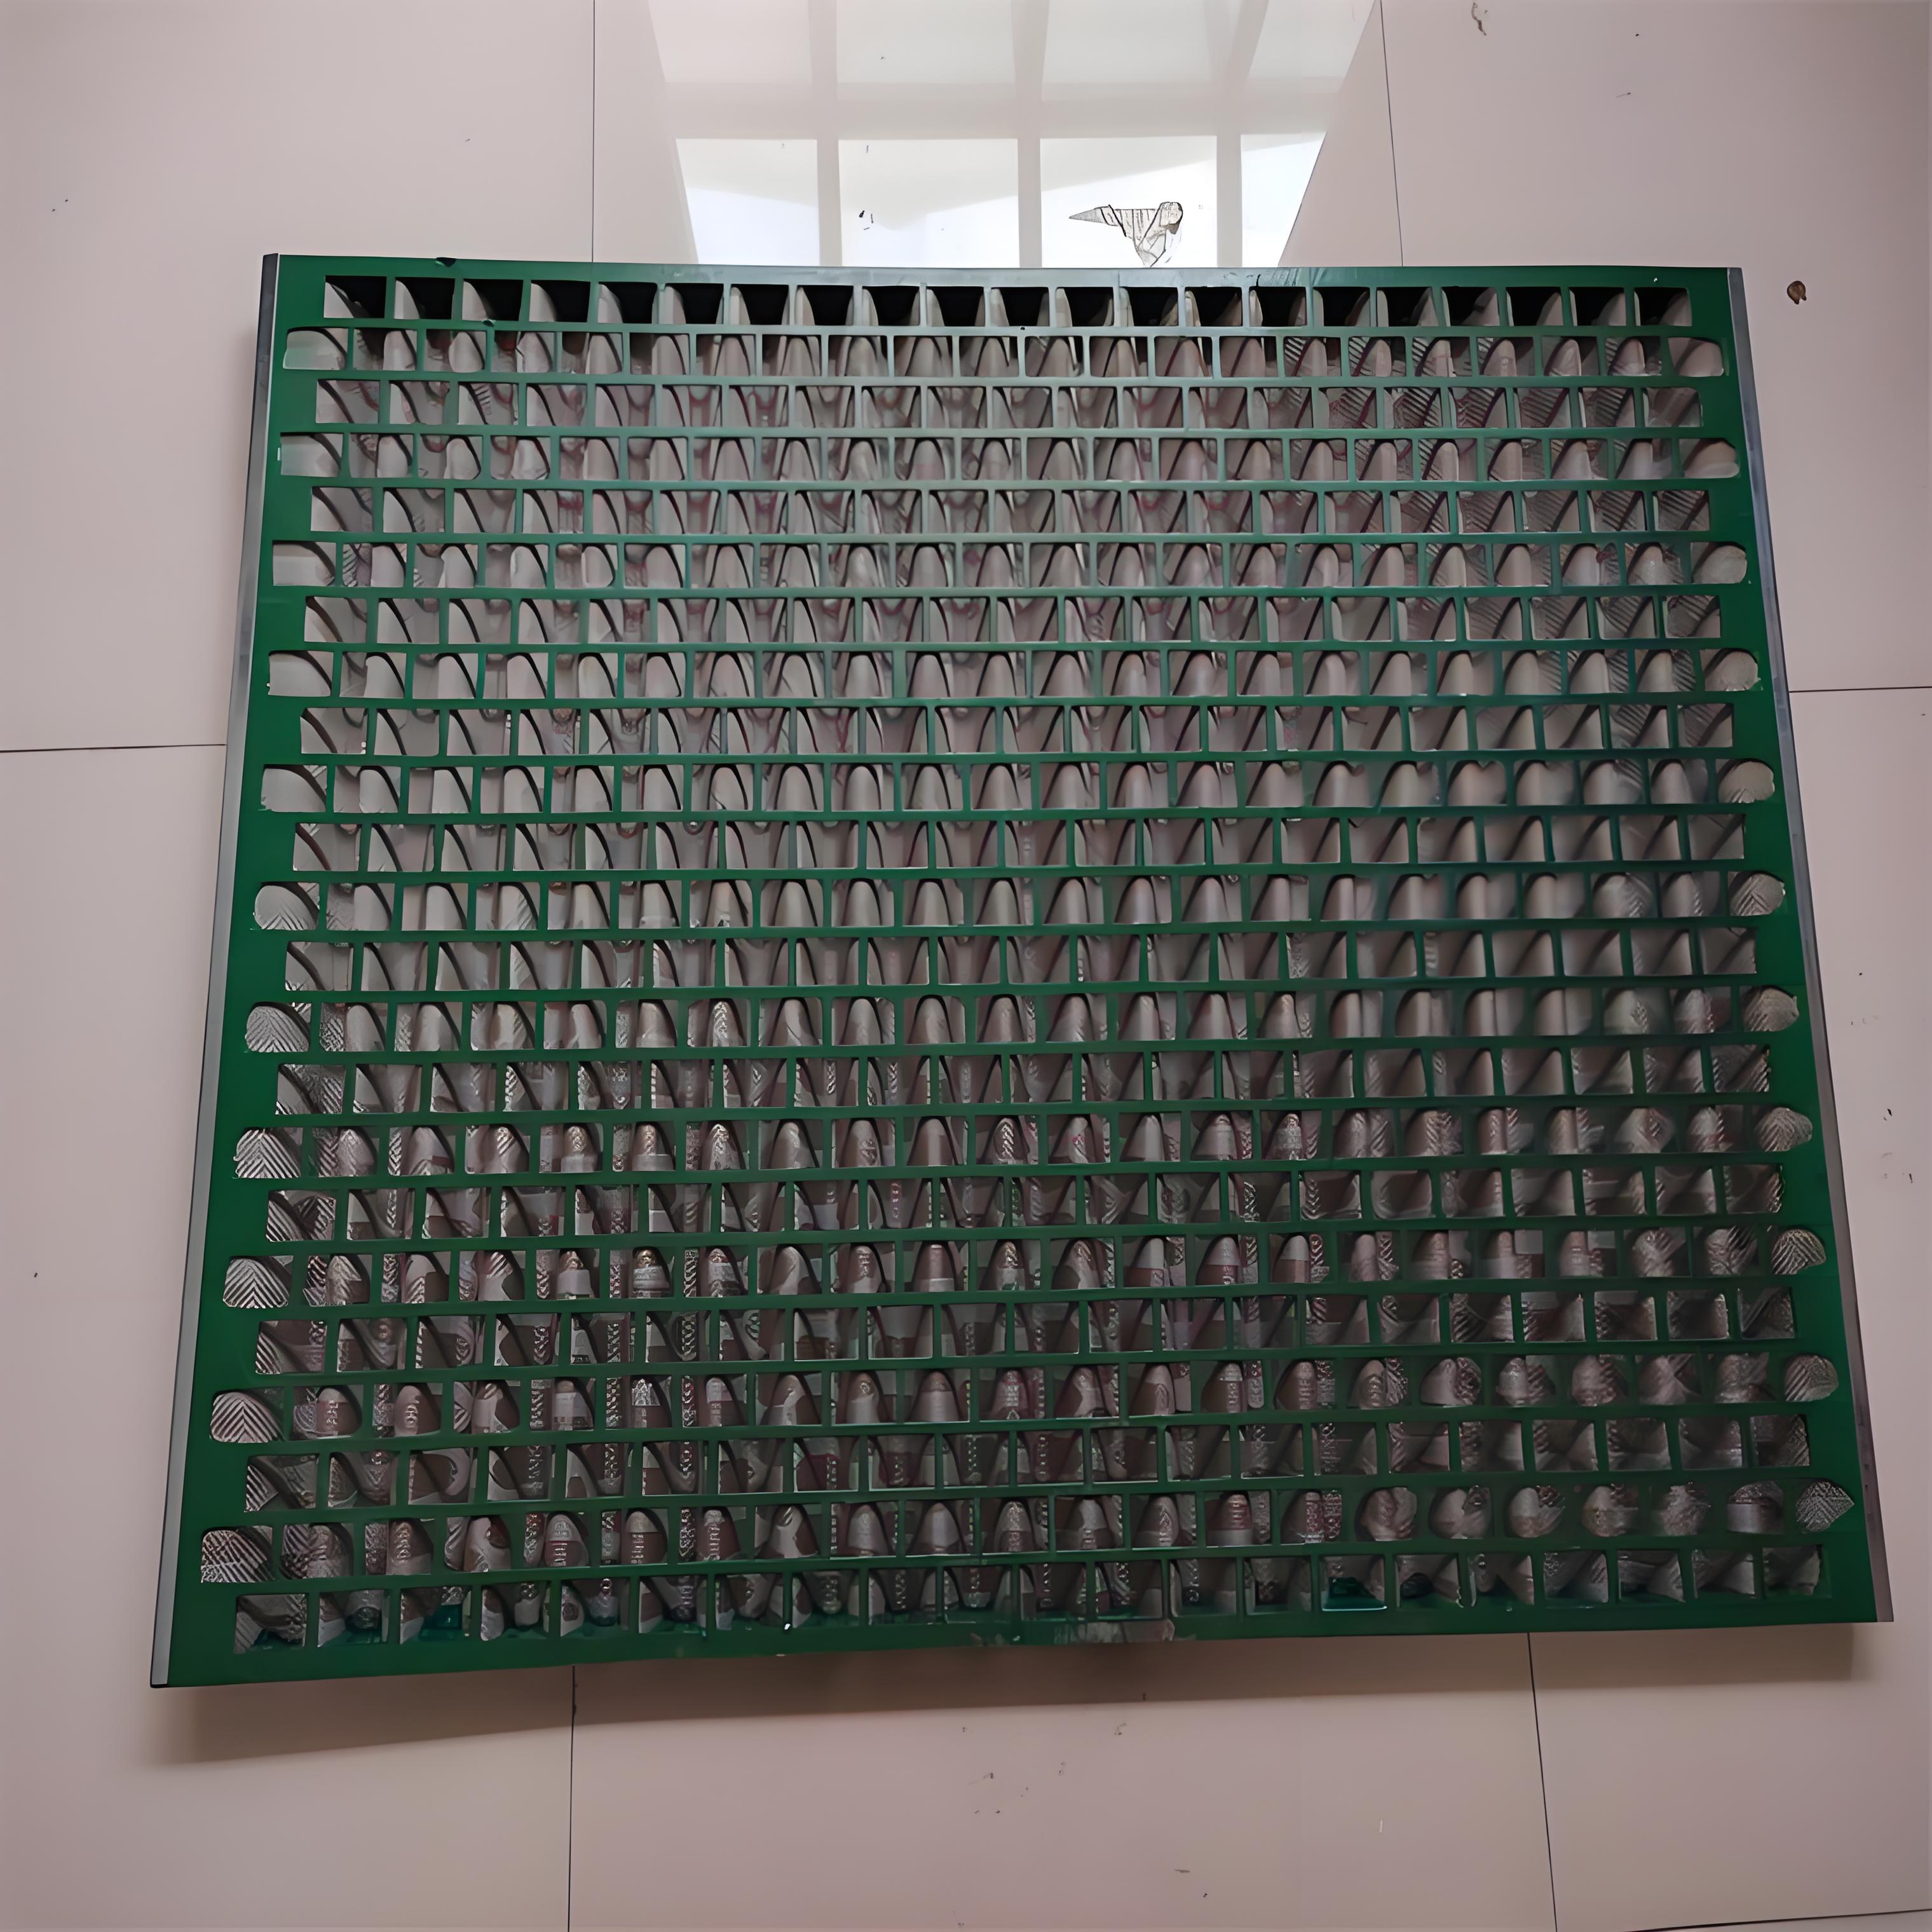
| Sticky / Clayey | Polyurethane or rubber-coated mesh |
| Lightweight | Larger apertures for better flow |
| Corrosive / Wet | Stainless steel |
From our field data, polyurethane panels outlast woven wire by 3–5× in high-abrasion applications, but the higher cost is only justified above 50 T/H. Below that, stainless steel offers better ROI.
Moisture: For ores with >10% moisture, wet screening with 3:1 to 3.5:1 water-to-ore ratio is recommended (Perry's Handbook, 9th Ed.).
Case example: In a recent trial with 12% moisture iron ore, a standard 20-mesh screen blinded within 72 hours. Switching to polyurethane with 22% larger apertures restored efficiency to 85% and extended life beyond 2 weeks.
Particle shape: Flaky materials perform better with slotted or rectangular mesh openings.
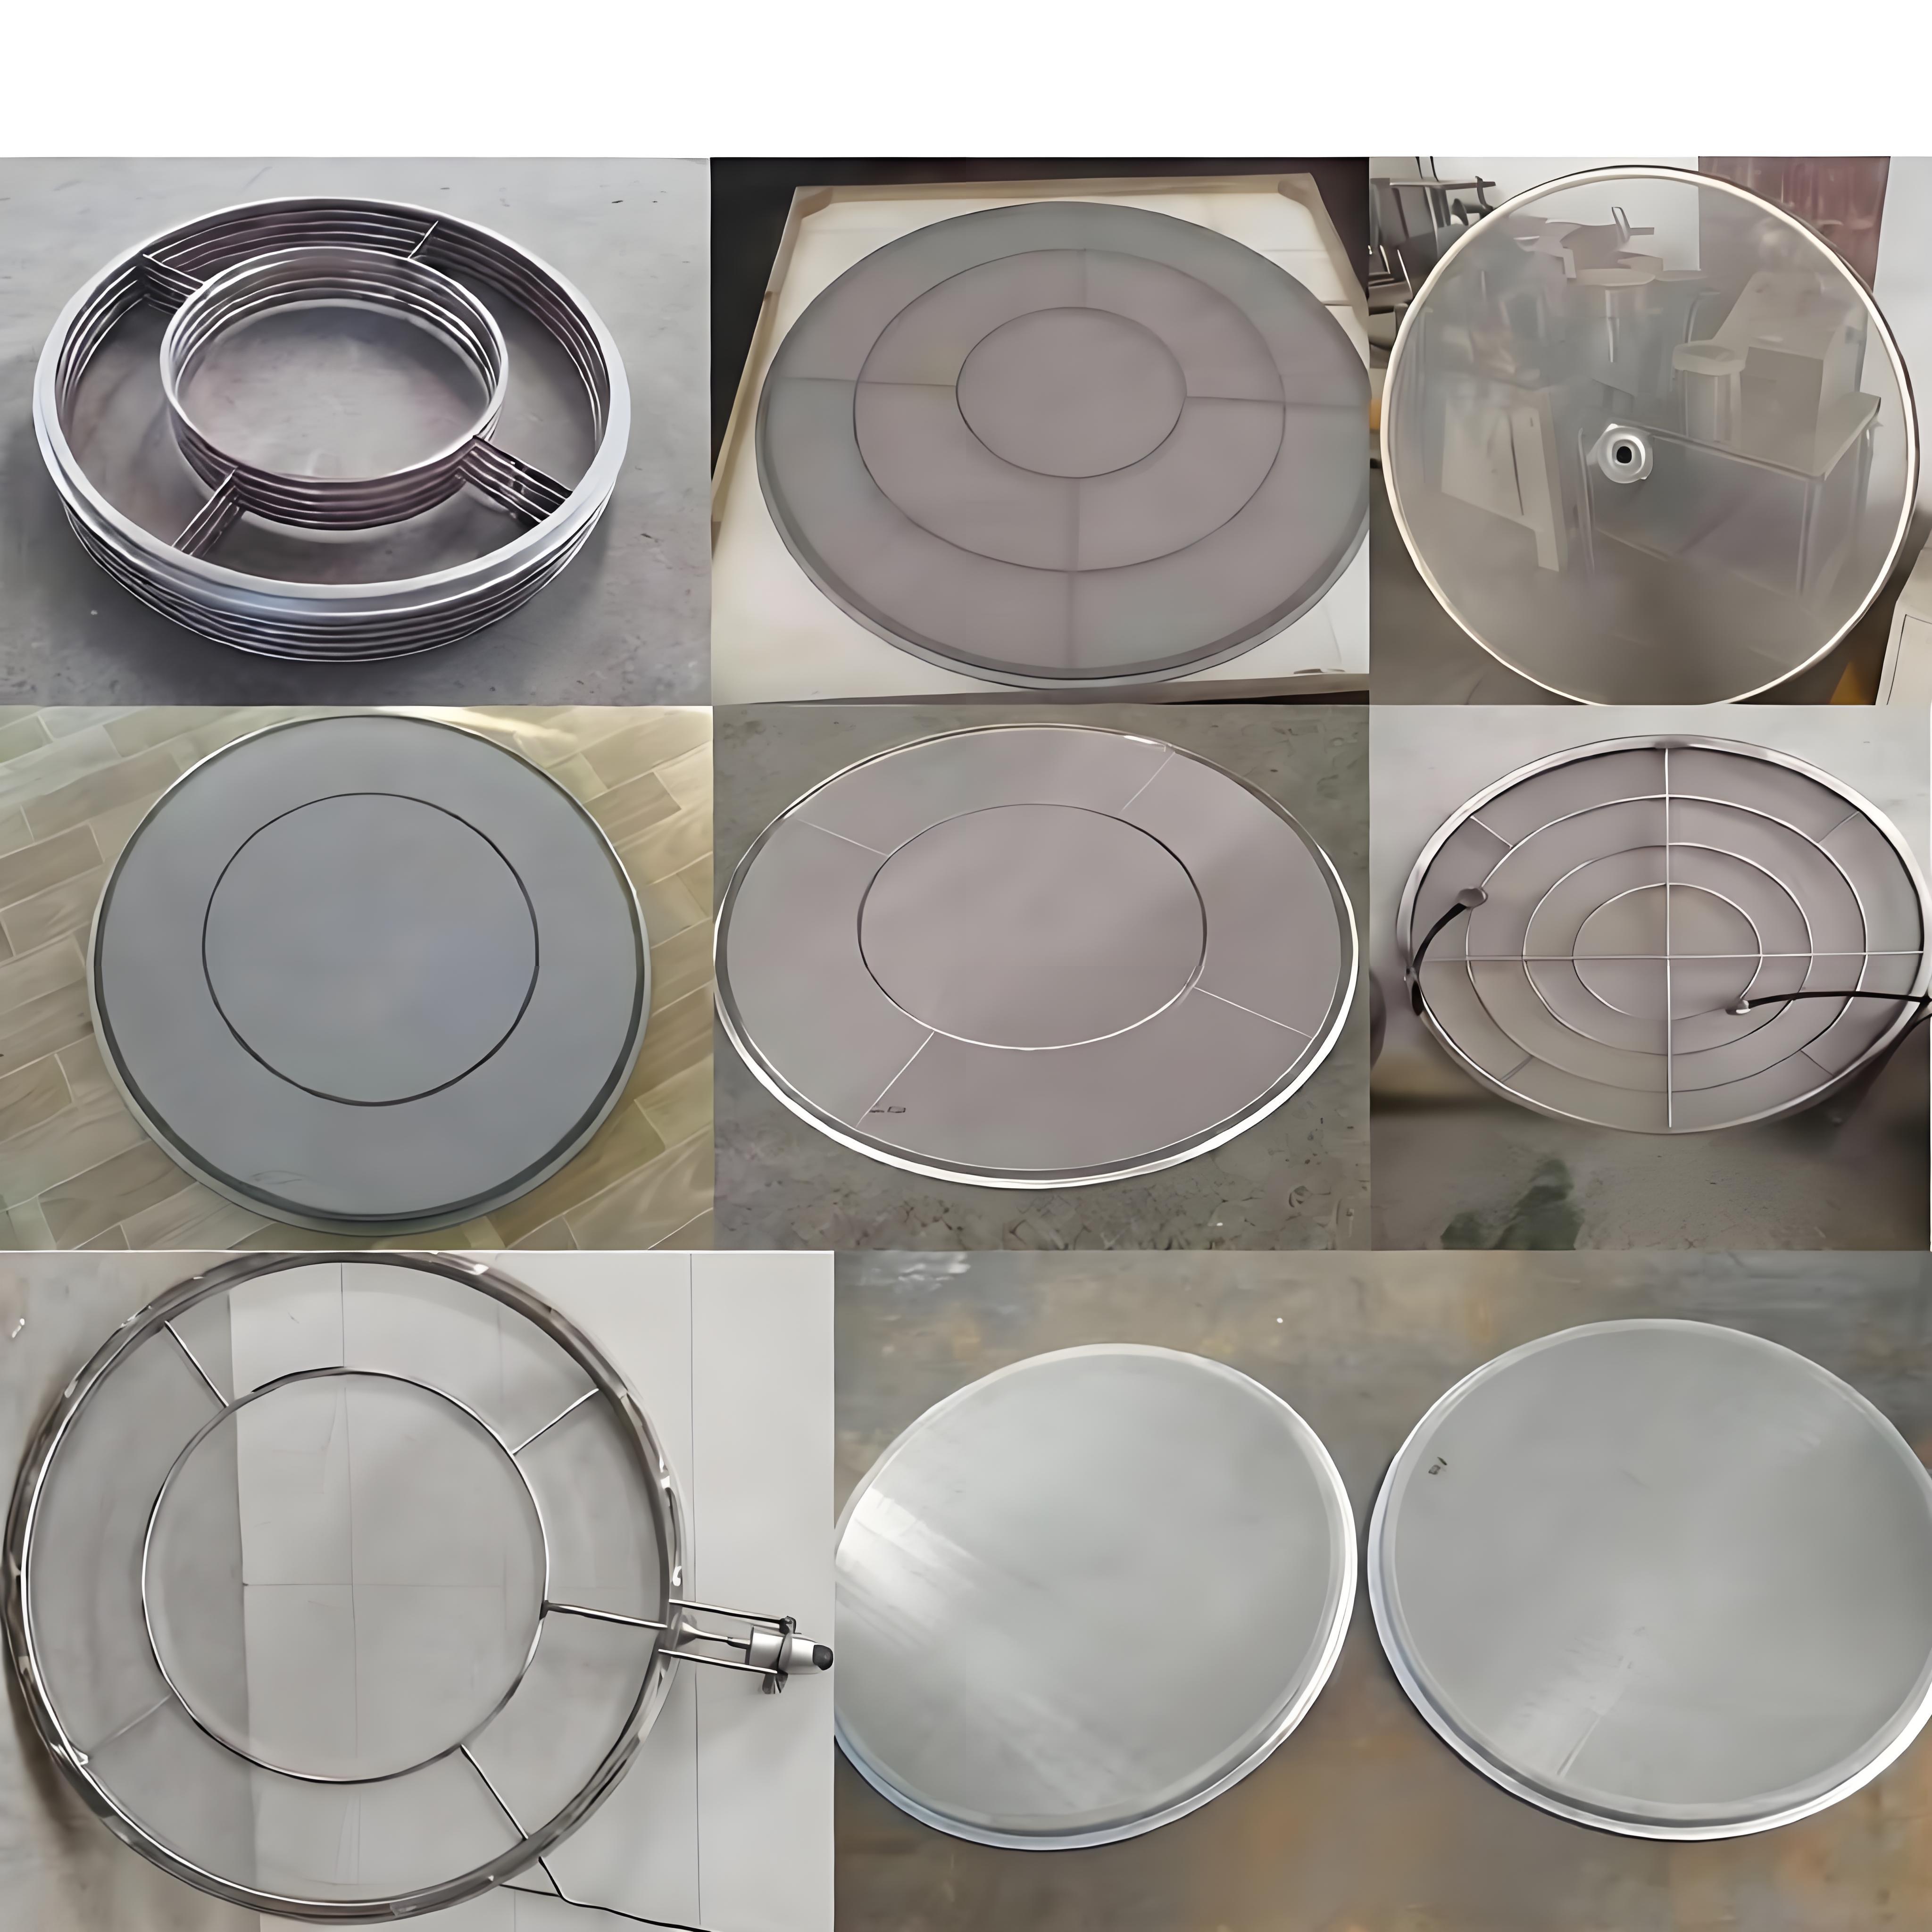
Step 4: Verify Machine Compatibility
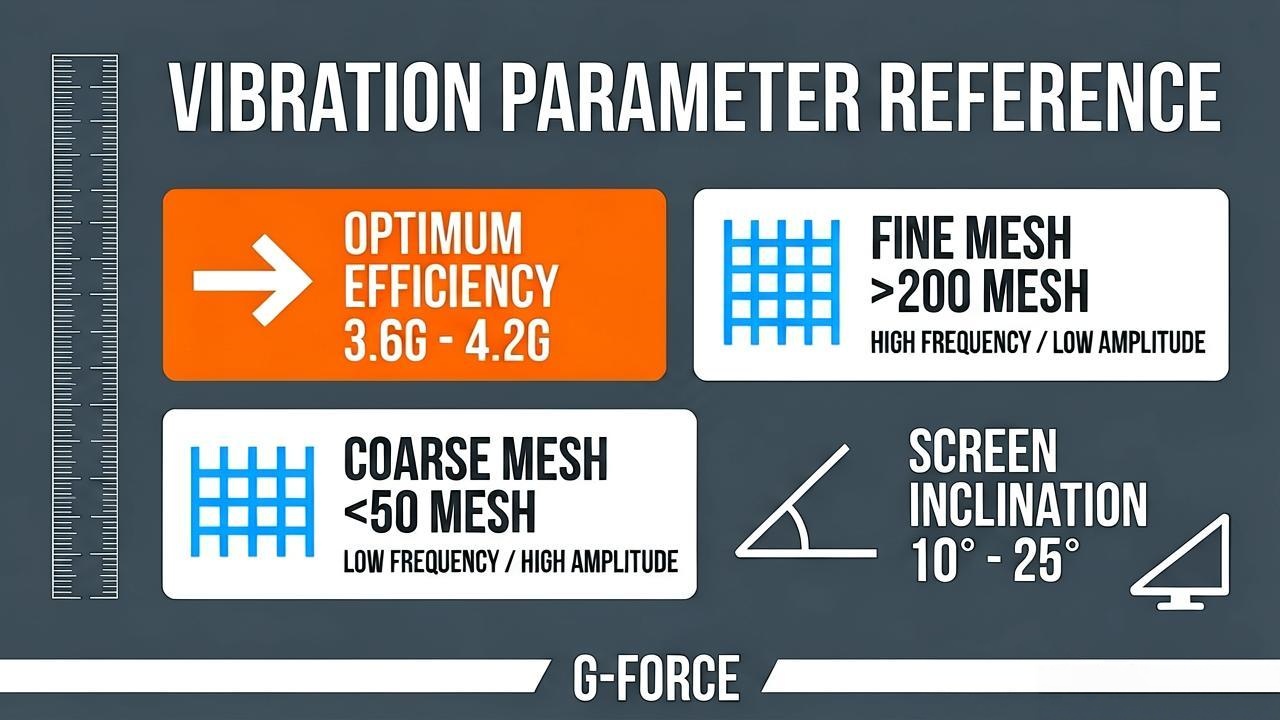
Fine meshes (>200 mesh): Need higher frequency, lower amplitude.
Coarse meshes (<50 mesh): Can use lower frequency, higher amplitude.
Optimal G-force range: 3.6G – 4.2G for best efficiency.
Screen inclination: 10°–25° typical; >30° reduces efficiency below 80%.
Bed depth (VSMA, "Screening for Maximum Efficiency," p. 18):
DOB should not exceed 2.5–3× average particle size.
Discharge end bed depth should not exceed 3–5× mesh aperture.
Step 5: Selection Checklist
| # | Factor | Action |
|---|---|---|
| 1 | Target cut point | Apply correction factor (Step 2) |
| 2 | Abrasiveness | High → stainless steel or polyurethane |
| 3 | Moisture | Wet → avoid <1 mm, consider self-cleaning |
| 4 | Particle shape | Flaky → consider slotted mesh |
| 5 | Inclination | >30° may reduce efficiency |
Reconsider if: Throughput is low, blinding is frequent, or wear is too rapid.
Open Area: The Overlooked Factor
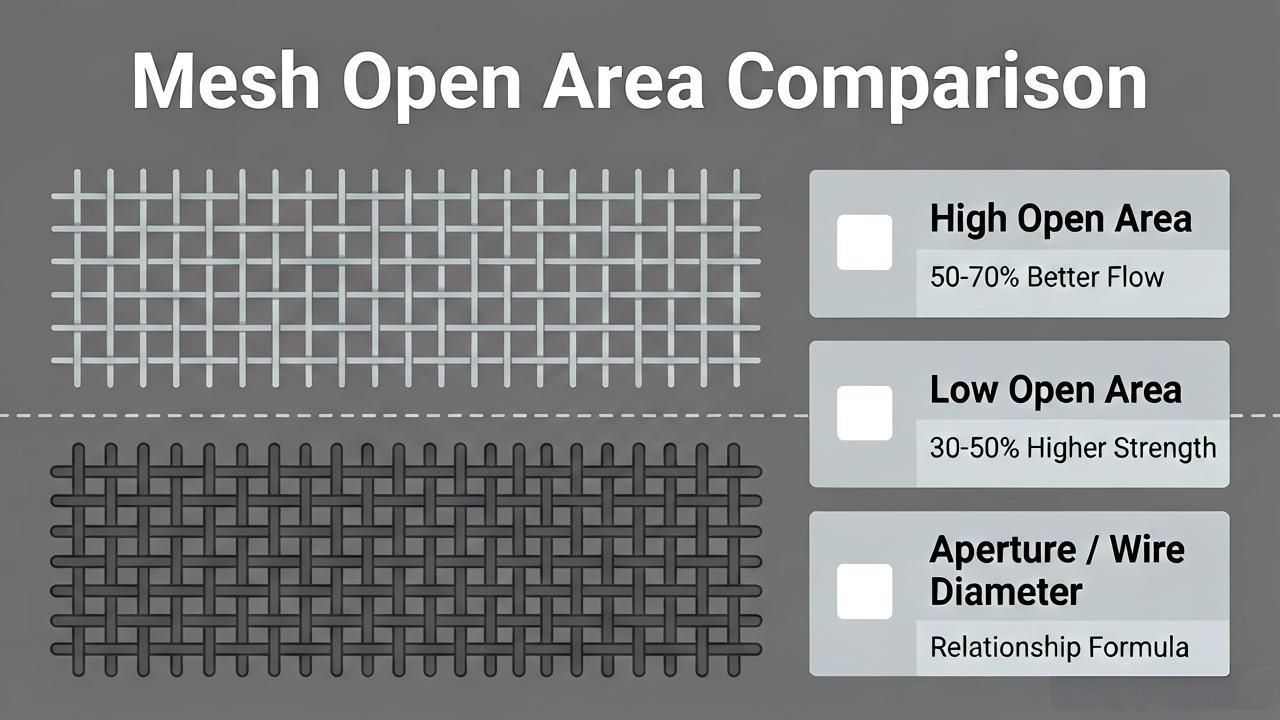
Open Area (%) = (Aperture / (Aperture + Wire Diameter))² × 100
| Application | Recommended Open Area |
|---|---|
| Coarse screening | 50–70% |
| Fine screening | 30–50% |
(per VSMA screening handbook, 2024, Section 4.2)
Each 1% increase in open area yields roughly 1.5–2% higher throughput. From our field data, a 5% open area increase yields 8–12% higher throughput—but only with uniform feed distribution.
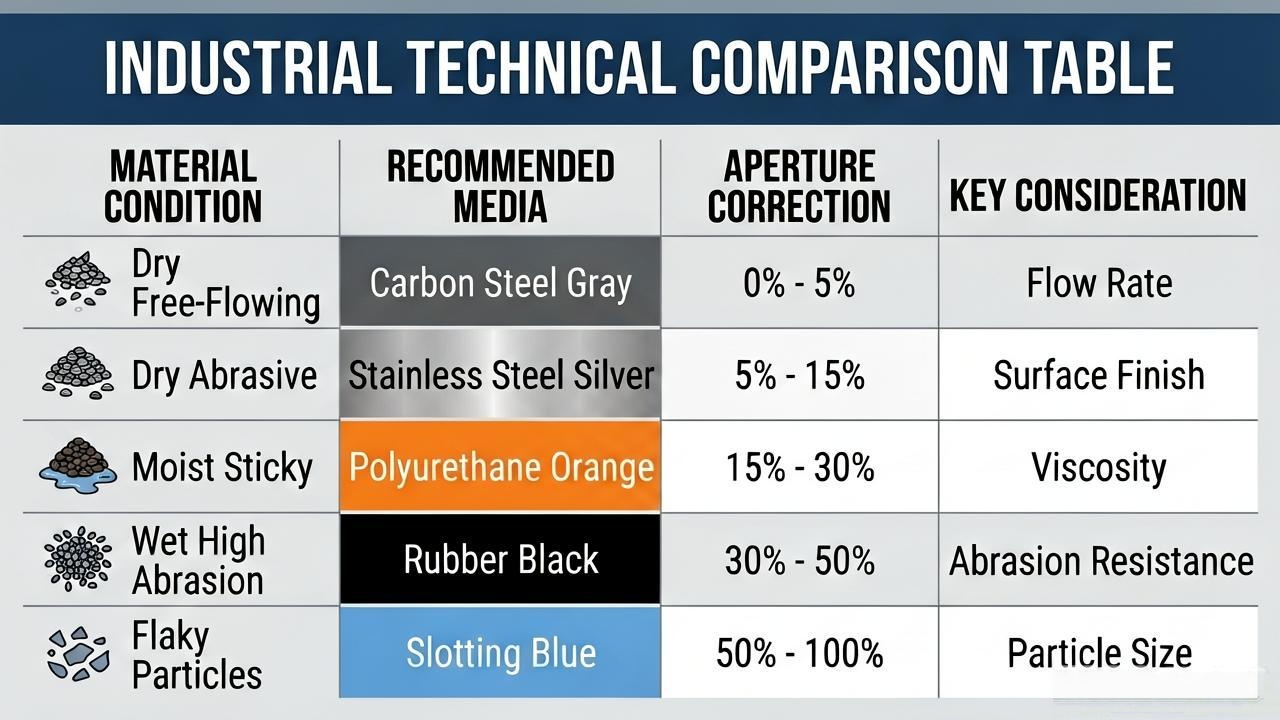
Quick Decision Matrix
| Material Condition | Recommended Media | Aperture Correction | Key Consideration |
|---|---|---|---|
| Dry, free-flowing | Woven wire (carbon) | 5–10% | Lowest cost |
| Dry, abrasive | Woven wire (stainless) | 5–10% | Balance cost/life |
| Moist, sticky | Polyurethane | 15–25% | Anti-blinding |
| Wet, high abrasion | Rubber | 20–30% | Best impact resistance |
| Flaky particles | Slotted/rectangular | Up to 40% | Improved passage |
Common Mistakes to Avoid
| Mistake | Solution |
|---|---|
| Aperture = target size | Apply 5–30% correction |
| Ignoring particle shape | Use slotted mesh for flaky materials |
| Mesh-machine mismatch | Match fineness to vibration parameters |
| Overlooking abrasiveness | Select wear-resistant material |
| Neglecting moisture | Use self-cleaning or polyurethane |
| Excessive bed depth | Keep DOB < 2.5–3× avg particle size |
| Lab results scale directly | Always conduct field trials |
Frequently Asked Questions
What mesh size for sand? 20–50 mesh (0.85–0.30 mm) for construction sand.
How to prevent blinding? Use self-cleaning or polyurethane mesh. For sticky material, adding a water spray at the feed end helps significantly.
Mesh vs. aperture? Mesh = openings per inch; aperture = actual wire spacing in mm. Inversely related.
Same mesh for wet and dry? No—wet needs larger apertures and anti-blinding.
Signs mesh is too fine? Low throughput, frequent clogging, excessive wear, material buildup.
What is the "80/20 rule"? Aperture should be ~20–25% larger than target size to prevent blinding.
Lab vs. production performance? Lab tests use ideal conditions. Run 24–48 hours of on-site trials before full commitment.
Final Thoughts
Start with your cut point, apply the aperture correction, factor in material characteristics, and verify machine compatibility. Referencing ASTM E11 and VSMA guidelines adds confidence to your selection.
Core principle: Aperture should be slightly larger than target size; finer meshes need higher vibration frequency. Test before full-scale production, and adjust based on results.
-
Vibrating Screen Maintenance Guide: A Sensory-Based Approach
Complete vibrating screen maintenance guide with sensory-based diagnostic framework. Daily checklists ...
-
How to Choose Between a Rotary Vibrating Sieve and a Linear Screen?
Compare rotary vibrating sieves and linear vibrating screens by specifications, working principles, a ...
-
How to Prevent Mesh Blinding During Fine Powder Sifting for Higher Yields
Explore effective anti-blinding solutions for fine powder screening. Learn how to prevent mesh cloggi ...
-
Gyratory Vibrating Screen vs. Rotary Vibratory Sifter: Key Differences & Which to Choose
Explore the key differences between a Gyratory Vibrating Screen and a Rotary Vibratory Sifter. Compar ...

Email:
sale@xxdahan.com
WhatsApp:
+86 15236742901
Add:
1000m West of Forest Park,Yanjin County,Xinxiang City,Henan Province,China.