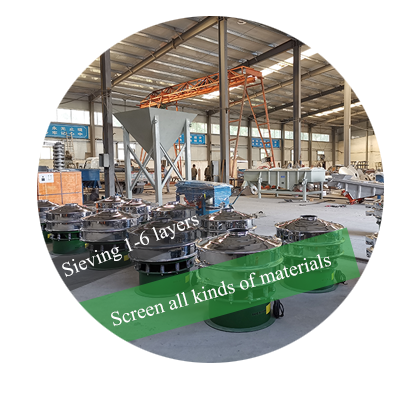
How to Clean and Maintain Stainless Steel Laboratory Test Sieves?
How to Clean and Maintain Stainless Steel Laboratory Test Sieves?
Stainless steel laboratory test sieves are precision tools used for particle size analysis, material separation, and laboratory quality control. How to Clean and Maintain Stainless Steel Laboratory Test Sieves Properly depends on the mesh size, sample residue, and condition of the wire cloth.
Proper maintenance includes removing retained particles, selecting a suitable cleaning method, rinsing when necessary, drying completely, and inspecting the mesh regularly. Routine cleaning helps maintain open apertures, reduce cross-contamination, and support consistent particle size analysis.
Why Proper Cleaning Matters?
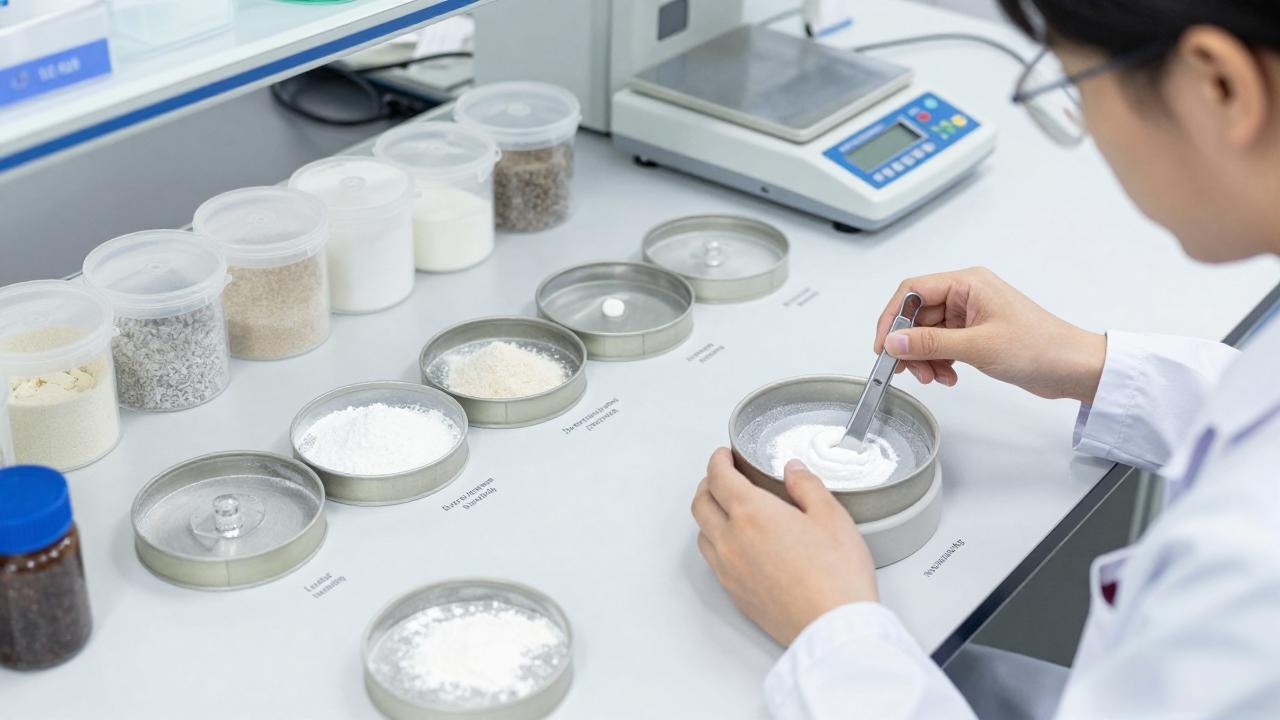
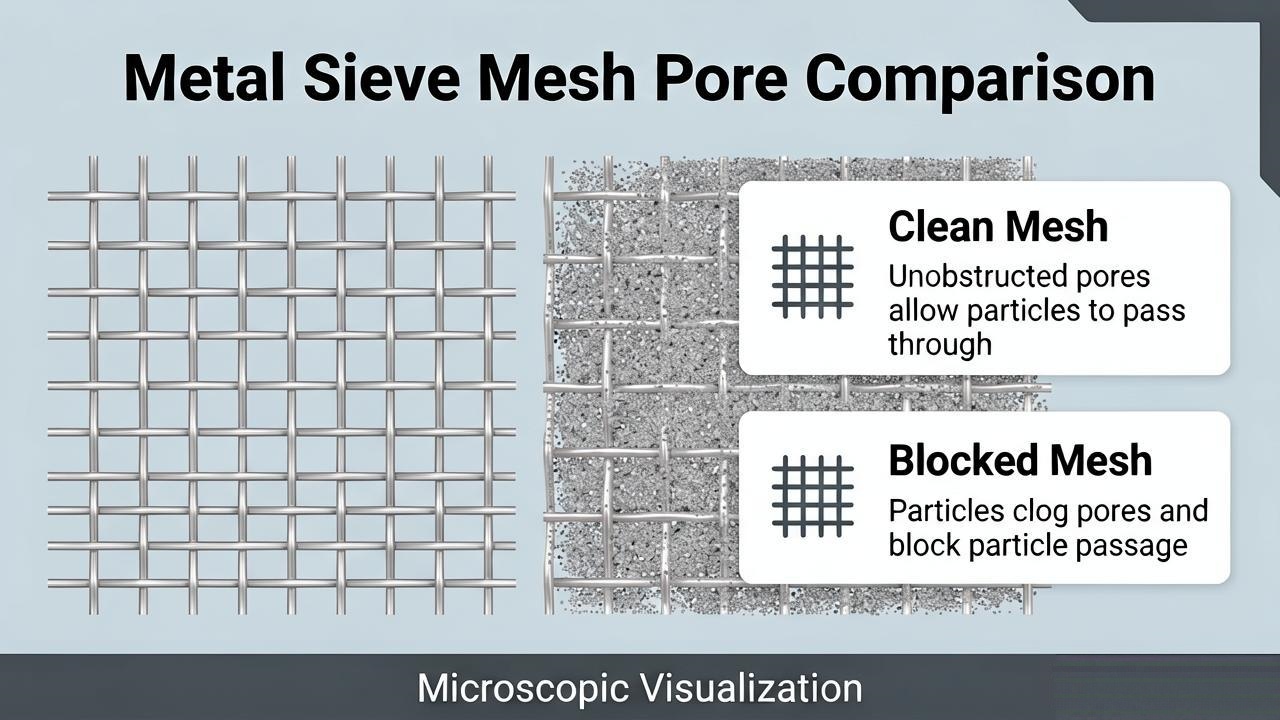
Particles trapped in mesh openings can reduce mesh permeability and interfere with normal particle passage. This may cause unusual material retention and affect the consistency of particle size analysis, particularly when fine or near-size particles become lodged in the wire cloth.
Regular cleaning also helps reduce cross-contamination between samples. The objective of How to Clean and Maintain Stainless Steel Laboratory Test Sieves Properly is not simply to make a sieve look clean, but to keep the apertures unobstructed while protecting the mesh from damage.
How Do You Know a Test Sieve Needs Cleaning?
A test sieve should normally be cleaned after each analysis. Visible sample residue or blocked apertures are obvious signs that cleaning is required.
Fine mesh can be more difficult to inspect visually. When necessary, examine the mesh against a suitable light or contrasting background. Unusual material retention or inconsistent results can also indicate blocked openings.
Regular inspection is particularly important when testing fine powders or materials that tend to lodge in the apertures.
How to Clean Stainless Steel Laboratory Test Sieves?
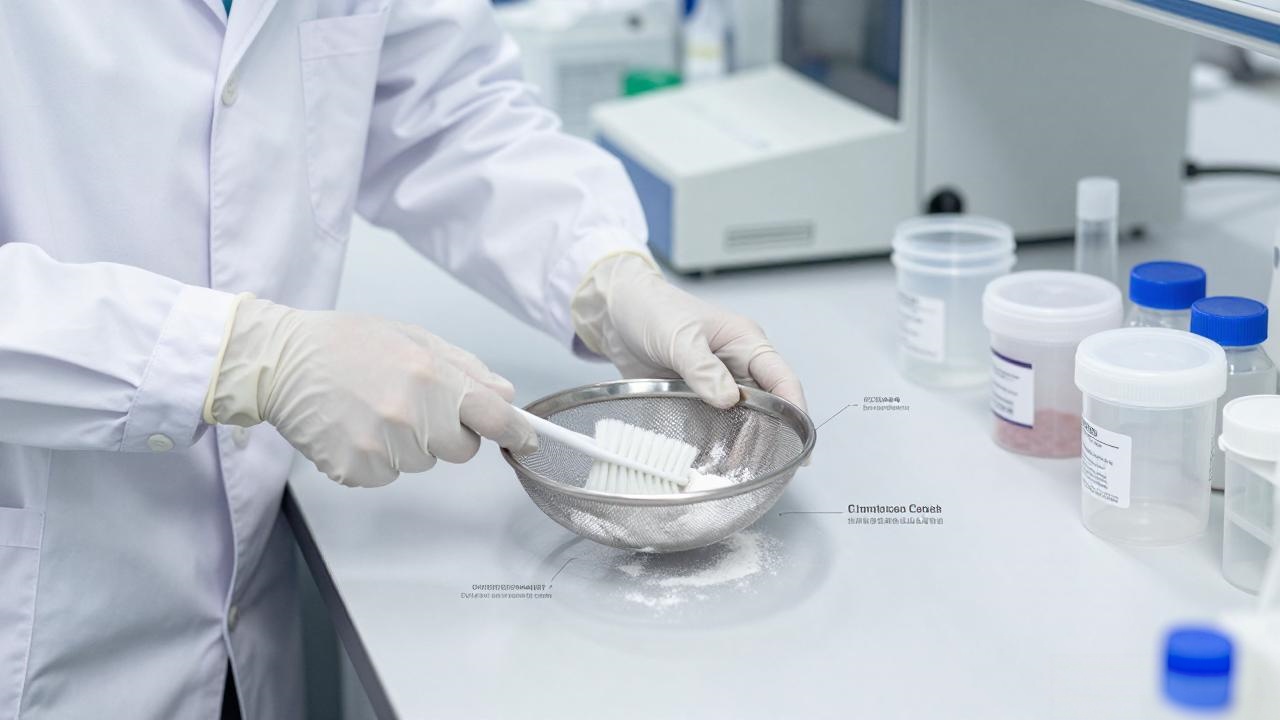
How to Clean and Maintain Stainless Steel Laboratory Test Sieves Properly starts with selecting a cleaning method that matches the mesh size and type of sample residue.
1. Inspect the Sieve
Before cleaning, check the mesh and frame for retained particles, blocked apertures, broken wires, loose mesh, or deformation.
If the sieve is already damaged, do not use aggressive cleaning in an attempt to restore it. Cleaning cannot repair permanently damaged wire cloth.
2. Remove Loose Particles
Turn the sieve upside down over a clean receiving surface and allow loose material to fall out.
For particles remaining near the openings, gently tap the frame or use an appropriate soft brush where suitable. Do not force particles through the apertures because excessive pressure can stretch or damage the mesh.
3. Choose the Cleaning Method
The cleaning method should be selected according to mesh size and sample residue.
| Mesh Size | Preferred Cleaning Method | Main Precaution |
|---|---|---|
| Above 500 μm | Gentle dry or wet cleaning with a suitable soft brush | Use light pressure |
| Below 500 μm | Ultrasonic cleaning when appropriate | Avoid aggressive mechanical brushing |
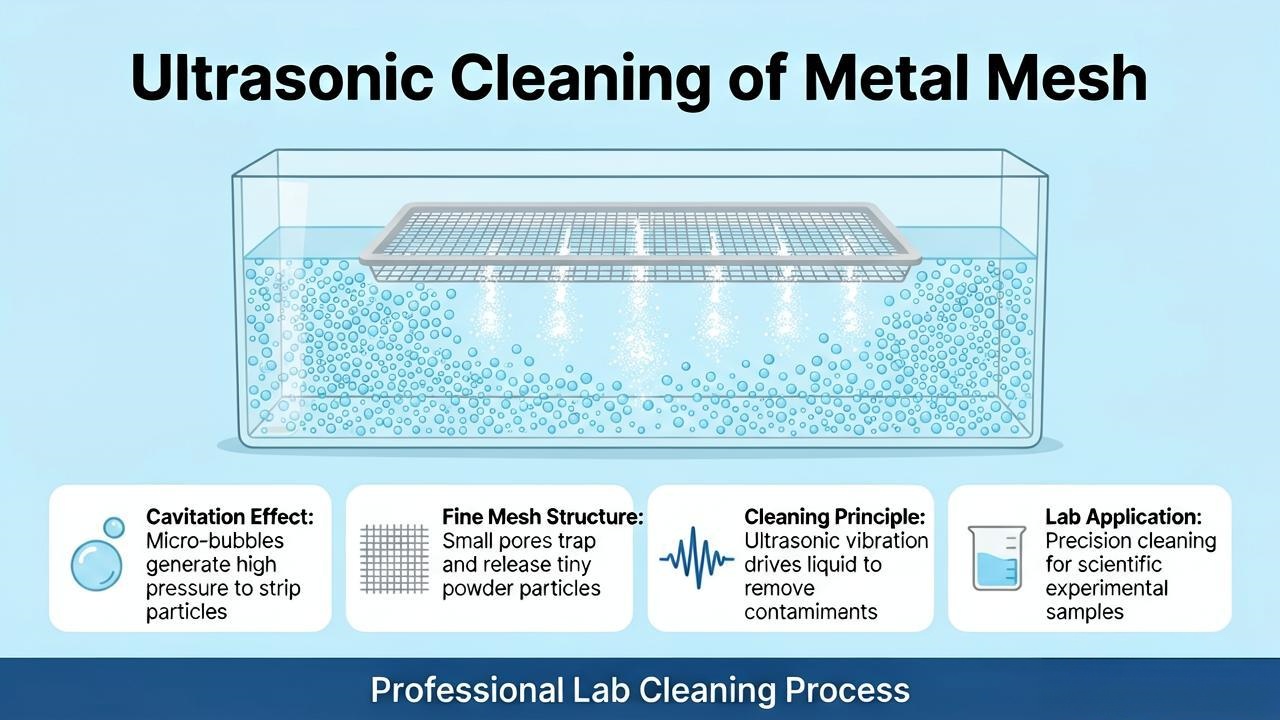
For coarser mesh, gentle brushing or wet cleaning may be suitable depending on the sample. For finer mesh, ultrasonic cleaning can help remove particles from small openings while reducing direct mechanical contact.
For wet cleaning, use clean water with a suitable mild cleaning solution when compatible with the sieve and sample. Rinse thoroughly after cleaning to remove remaining particles and cleaning-agent residue.
How to Clean Fine-Mesh Test Sieves?
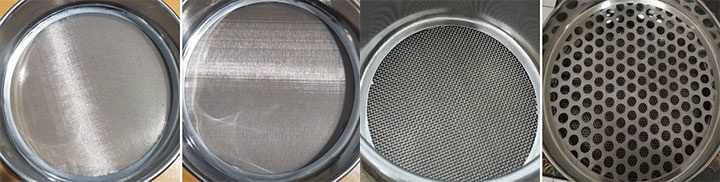
When considering How to Clean and Maintain Stainless Steel Laboratory Test Sieves Properly, fine-mesh test sieves require particular care because small apertures can retain particles easily and the wire cloth is more susceptible to mechanical damage.
Do not increase brushing pressure when particles are difficult to remove, and never use knives, needles, wires, or other sharp objects to push particles through the mesh.
For mesh below approximately 500 μm, ultrasonic cleaning is commonly recommended. An appropriate cleaning liquid can help release particles from fine openings without the direct mechanical contact associated with aggressive brushing.
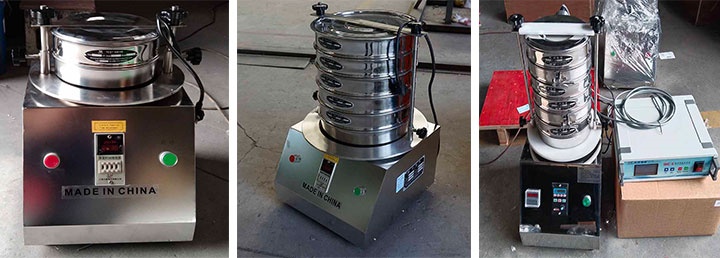
The ultrasonic cleaning time and cleaning solution should be selected according to the sieve, ultrasonic equipment, and laboratory procedure. Strong acids, strong bases, or incompatible solvents should not be used unless specifically permitted.
How to Dry Stainless Steel Laboratory Test Sieves?
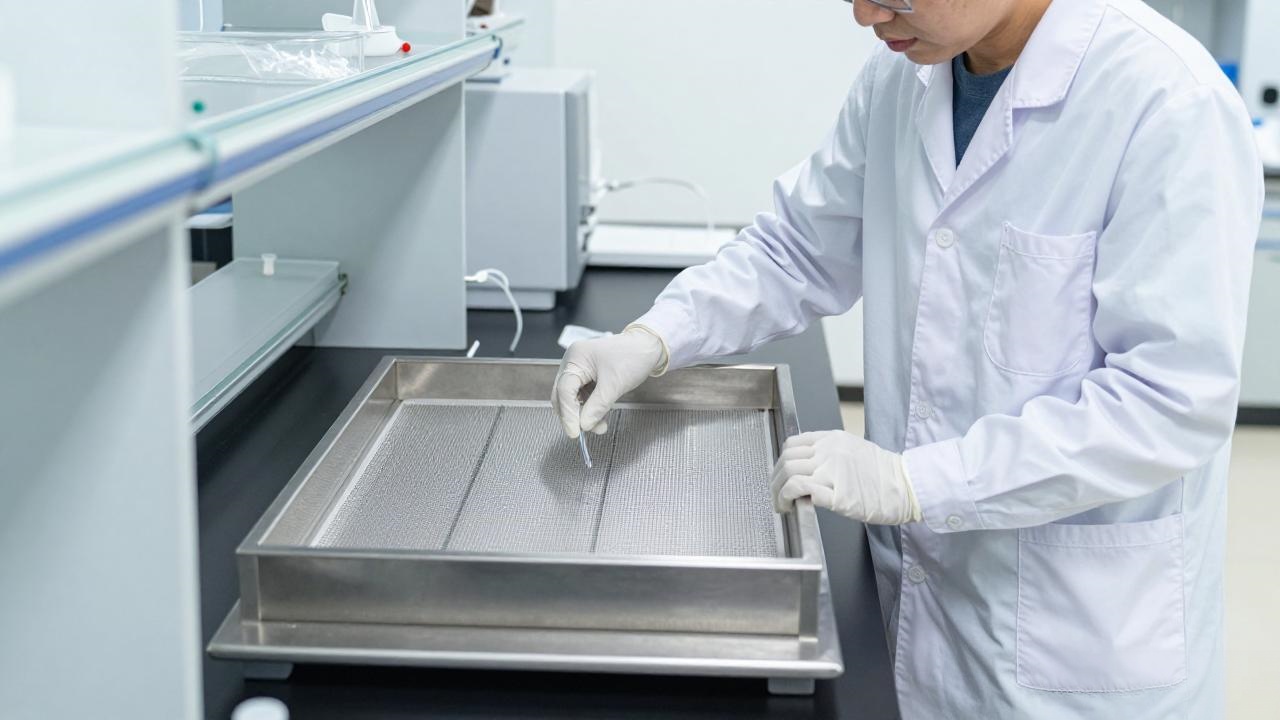
After wet or ultrasonic cleaning, rinse the sieve thoroughly and dry it completely before storage or reuse.
Air drying may be sufficient for some applications. If controlled oven drying is used, excessive heat should be avoided, particularly with fine metal mesh. Some technical guidance specifies temperatures below 80°C to help prevent fine mesh from warping or losing appropriate tension. Always follow the applicable sieve and laboratory procedure.
Complete drying is important because residual moisture can affect storage conditions and may interfere with subsequent testing.
How Cleaning Affects Sieve Analysis Accuracy?
Cleaning is directly related to the condition of the screening surface.
When particles accumulate in the apertures, the effective open area and mesh permeability can decrease. This can restrict particle passage and contribute to inconsistent particle size results.
Damaged wires, enlarged openings, loose mesh, or distorted sections create another risk because they can change the effective aperture and affect particle separation.
Blocked apertures → reduced mesh permeability → altered particle passage → potentially inconsistent results
Damaged mesh → changed aperture condition → unreliable particle separation
For this reason, proper cleaning and maintenance should be treated as part of routine laboratory quality control.
Common Cleaning Mistakes to Avoid
Excessive Brushing
Excessive pressure can loosen, stretch, or damage the wire mesh, especially on fine sieves.
Using Sharp Tools
Never use knives, needles, wires, or other pointed objects to force particles through the mesh.
Using Unsuitable Chemicals
Avoid strong acids, strong bases, or incompatible solvents unless the applicable cleaning procedure specifically permits them.
Using Excessive Heat
Follow the appropriate drying temperature limit to protect the mesh and maintain its condition.
How to Maintain, Store, and Inspect Test Sieves?
After cleaning and drying, store test sieves in a clean, dry environment and protect them from impact, pressure, and unnecessary contact with other objects.
Periodically inspect the mesh for blocked apertures, broken wires, loose sections, distorted openings, or separation around the frame. Fine mesh can be examined against a suitable light or contrasting background when necessary.
Frequently used sieves should receive more regular inspections because wear depends on both usage and the characteristics of the tested material.
When Should a Test Sieve Be Replaced?
Cleaning cannot correct permanent mesh damage. A sieve should be evaluated for replacement when the wire cloth is broken, loose, significantly distorted, excessively worn, or no longer meets the required inspection or verification condition.
Do not attempt to repair holes or broken wires by manually stretching or adjusting the mesh. A damaged sieve can affect aperture accuracy and particle separation.
For controlled particle size analysis, the sieve should also be checked according to the applicable inspection, verification, or certification requirements.
Frequently Asked Questions
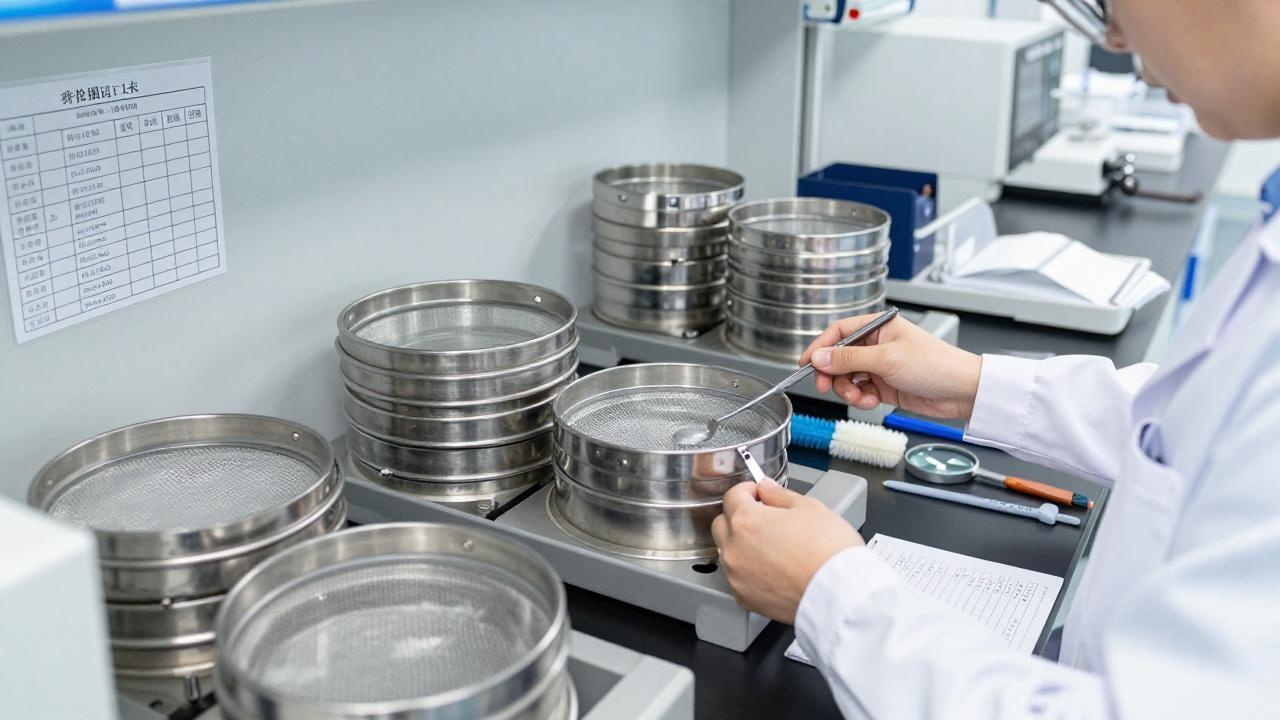
How often should laboratory test sieves be cleaned?
Test sieves should generally be cleaned after each analysis. Cleaning may need to be more frequent when working with fine powders, sticky materials, or samples that readily lodge in the mesh.
What is the best way to clean and maintain stainless steel laboratory test sieves?
How to Clean and Maintain Stainless Steel Laboratory Test Sieves Properly depends on the mesh size and sample residue. Coarser mesh can generally be cleaned with gentle brushing, while finer mesh may require ultrasonic cleaning. After wet cleaning, rinse and dry the sieve completely, then inspect it regularly for blocked apertures or mesh damage.
Can I use a metal brush to clean a test sieve?
A hard metal brush is generally unsuitable for precision wire mesh because it can damage or deform individual wires. Use a cleaning method appropriate for the mesh size and construction.
When should a test sieve be replaced?
Replace or professionally evaluate the sieve when the mesh is broken, loose, significantly distorted, excessively worn, or unable to meet the required inspection or verification condition.
Final Thoughts
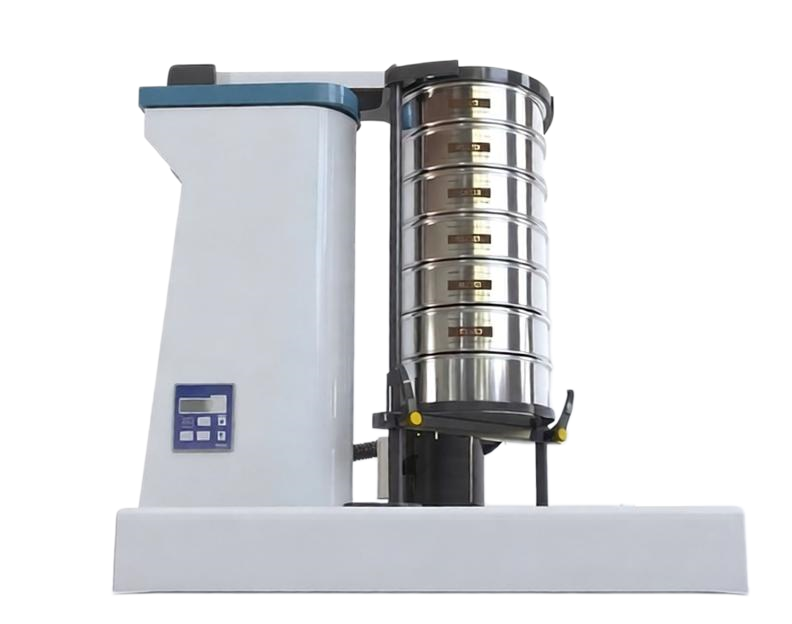
Following How to Clean and Maintain Stainless Steel Laboratory Test Sieves Properly helps protect the wire mesh, maintain suitable apertures, and support consistent particle size analysis.
Proper sieve maintenance combines gentle cleaning, appropriate methods for fine mesh, complete drying, regular inspection, and timely replacement of damaged sieves. For laboratories selecting stainless steel laboratory test sieves, the aperture size, sieve diameter, mesh material, sample characteristics, and applicable testing requirements should be considered together.
Dahan provides stainless steel laboratory test sieve solutions for particle size analysis and laboratory screening applications. If you need help selecting suitable sieve specifications, provide the required aperture size, sieve diameter, sample type, and testing requirements to Dahan.

Email:
sale@xxdahan.com
WhatsApp:
+86 15236742901
Add:
1000m West of Forest Park,Yanjin County,Xinxiang City,Henan Province,China.